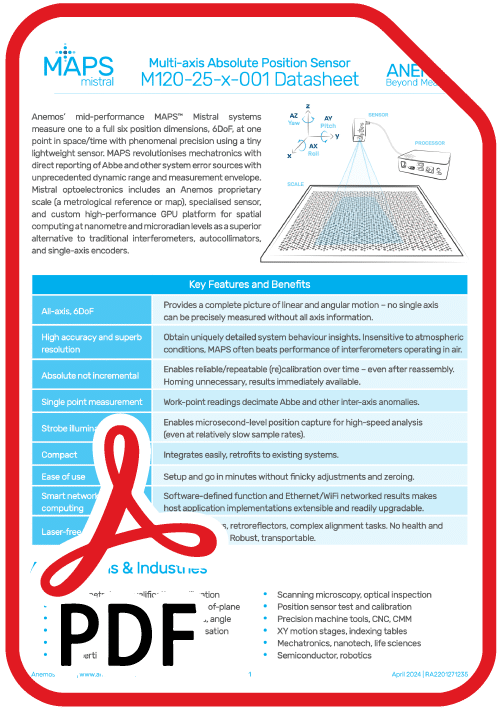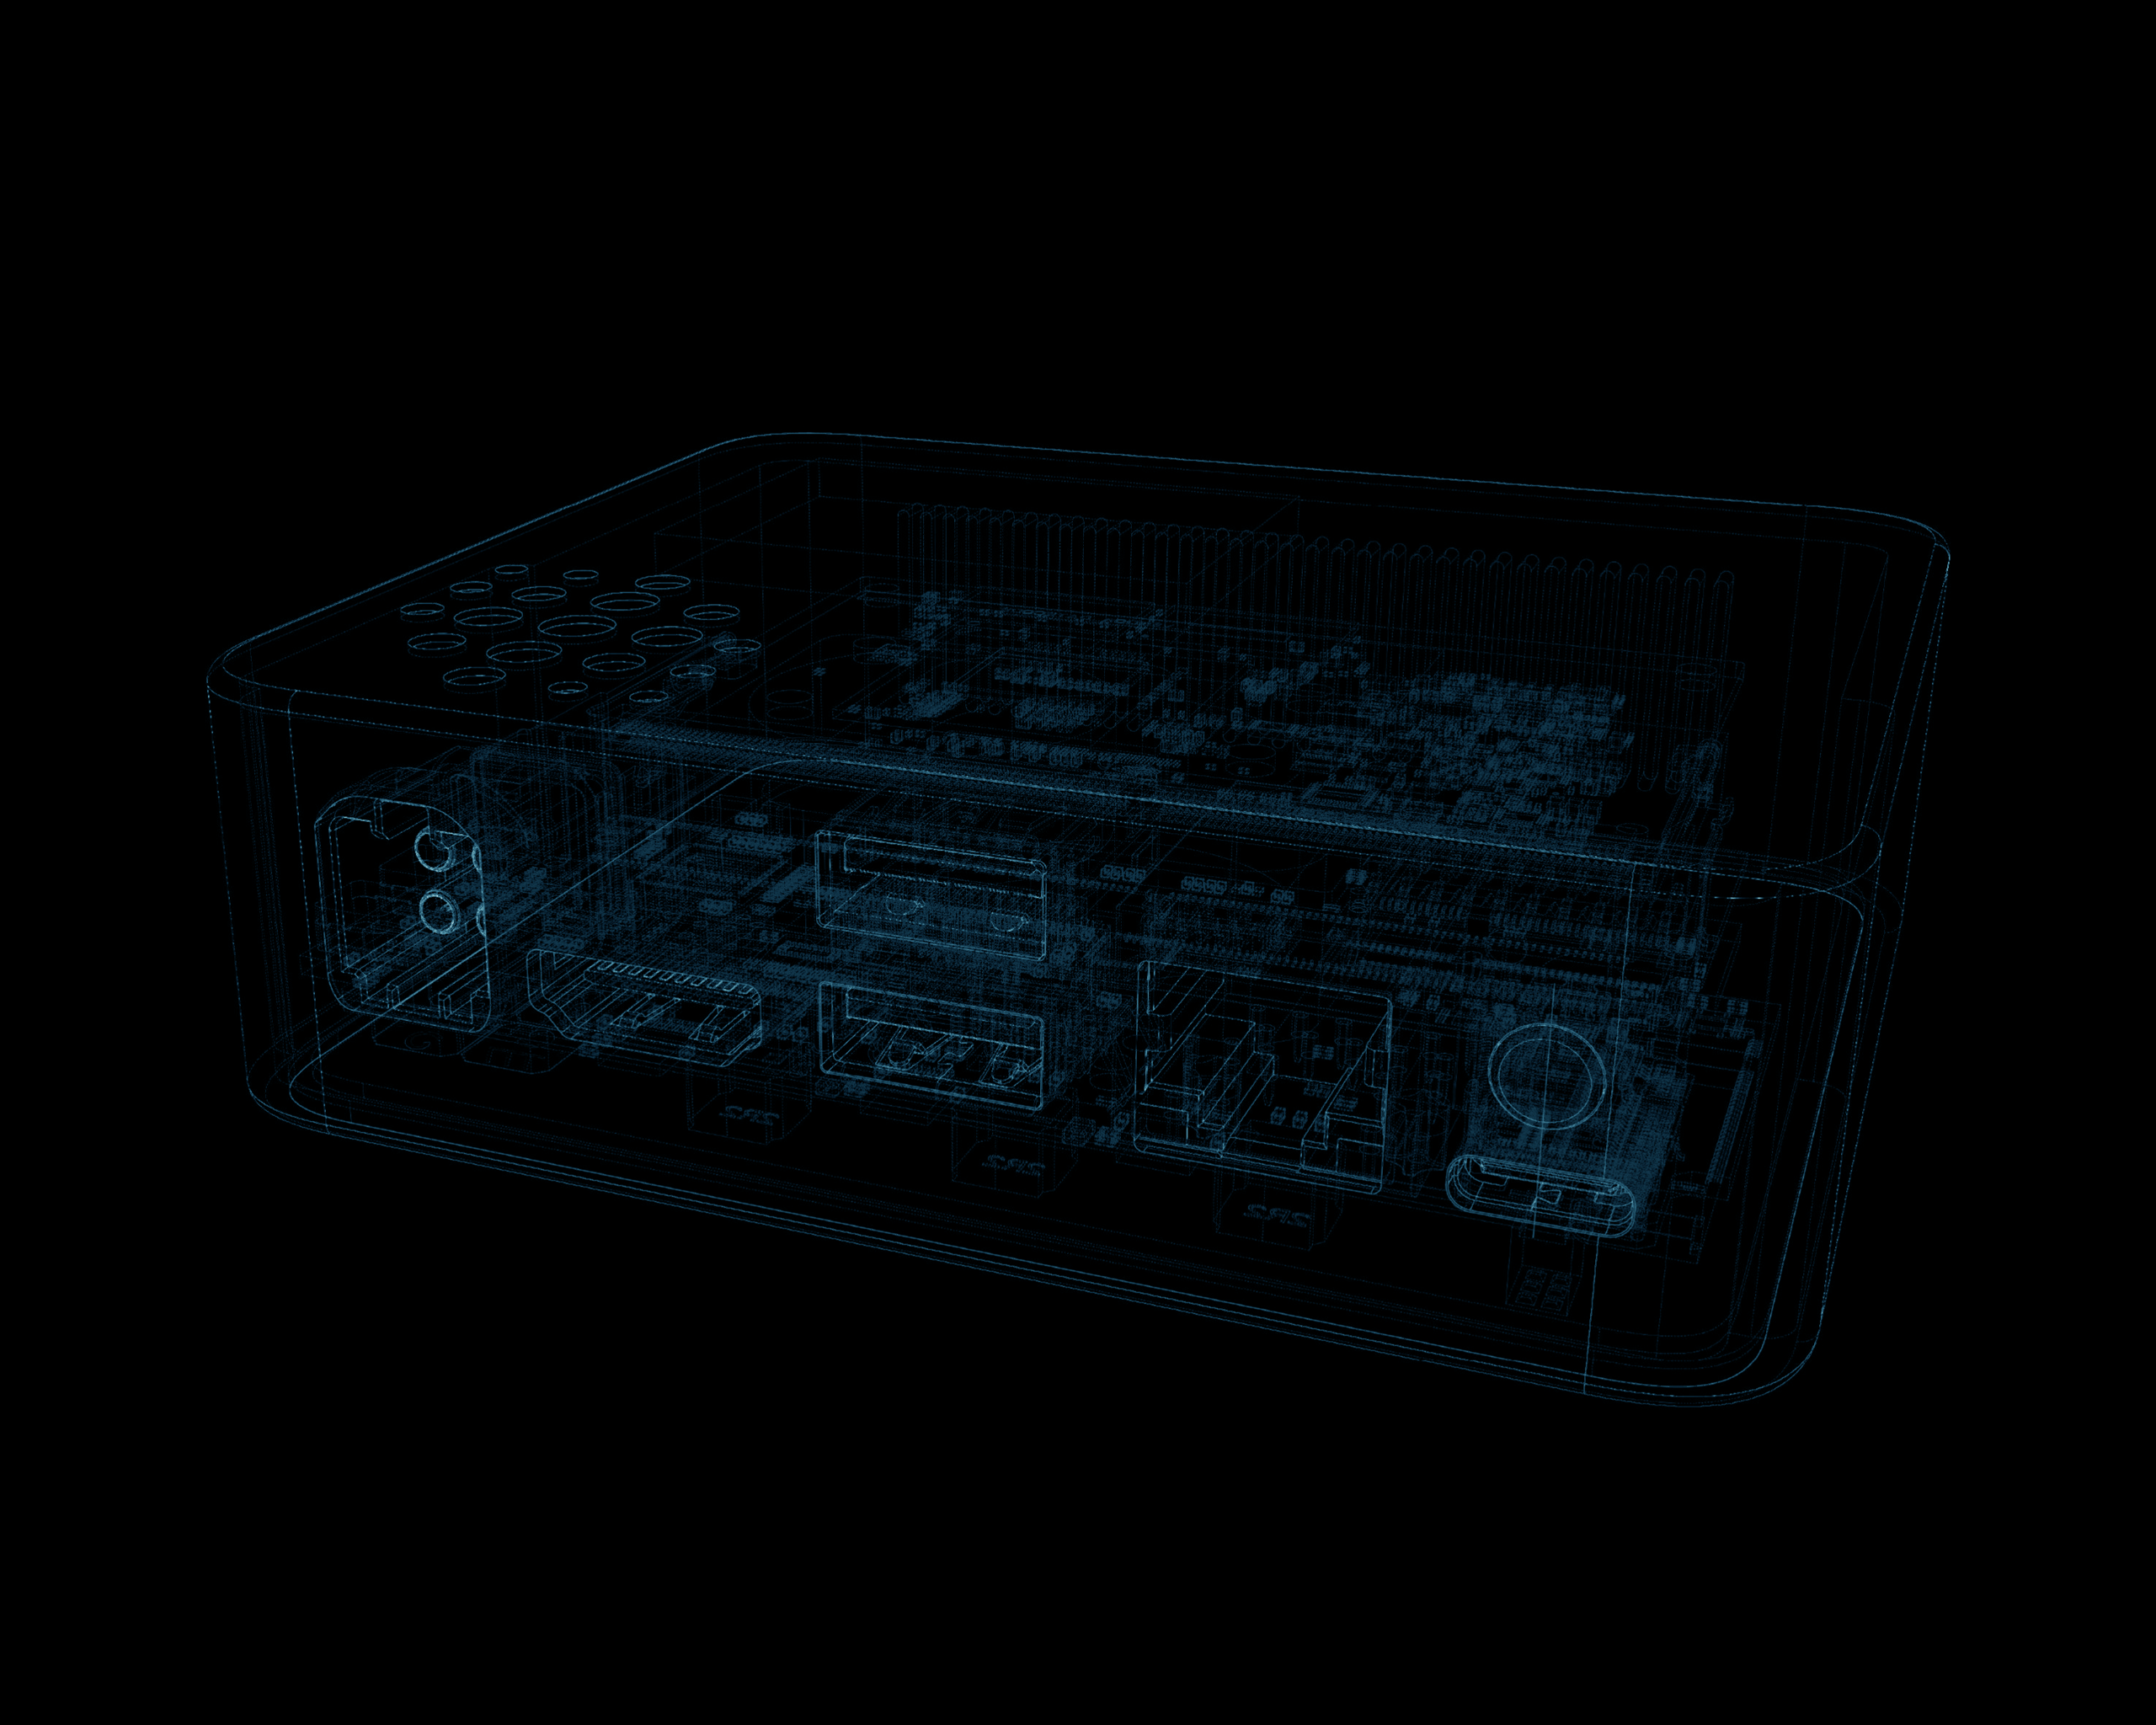
Mid-performance MAPS systems targeted at submicron characterisation and calibration of microscope stages, CNC, CMM, and similar tasks measuring XYZ and all rotational axes.
An enhanced MAPS series using high-resolution scales which yield deep sub-nanometre XY performance for nanotech industries and super-resolution microscopy among other applications.
The ultimate bespoke metrology tools. Multi-MAPS sensor configurations further enhance all 6DoF axes delivering uncompromising rotational accuracy and subatomic XYZ resolution.
Mistral M120-25-x-001
Anemos’ mid-performance MAPS™ Mistral systems measure one to a full six position dimensions, 6DoF, at one point in space/time with phenomenal precision using a tiny lightweight sensor.
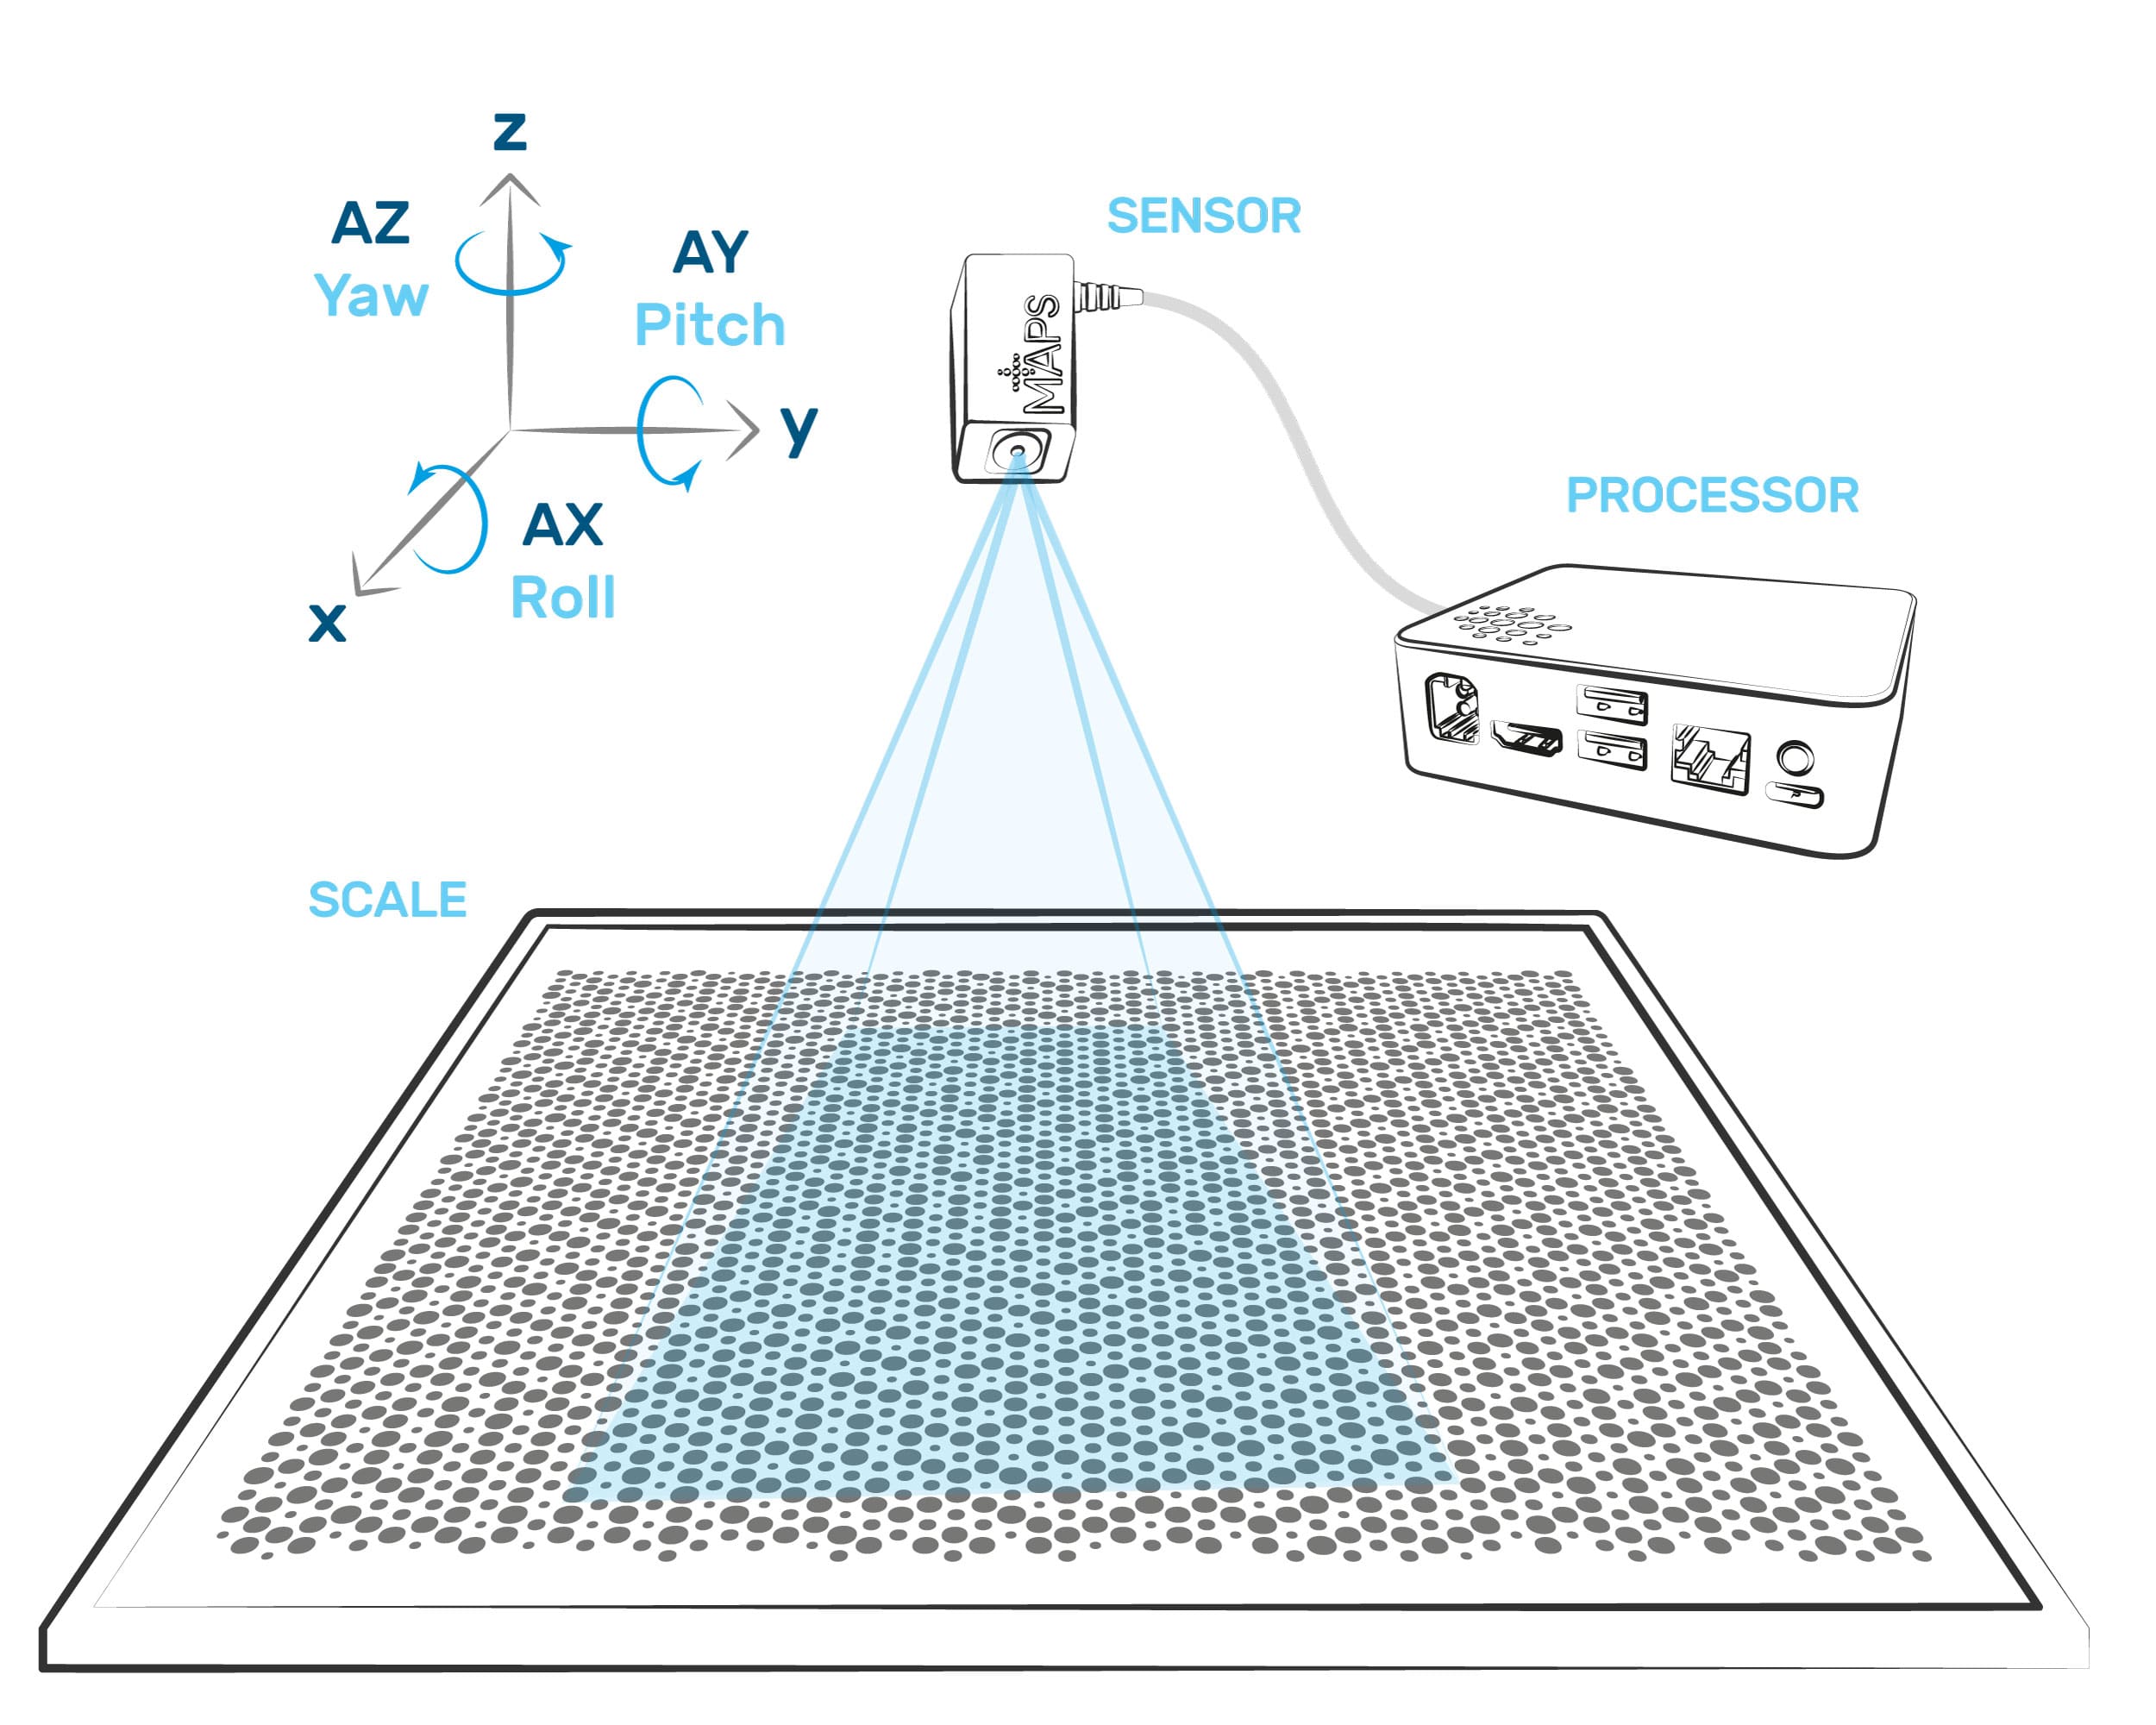
MAPS revolutionises mechatronics with direct reporting of Abbe and other system error sources with unprecedented dynamic range and measurement envelope. Mistral optoelectronics includes an Anemos proprietary scale (a metrological reference or map), specialised sensor, and custom high-performance GPU platform for spatial computing at nanometre and microradian levels as a superior alternative to traditional interferometers, autocollimators, and single-axis encoders.
| Key Features and Benefits | |
|---|---|
| All-axis, 6DoF | Provides a complete picture of linear and angular motion – no single axis can be precisely measured without all axis information. |
| High accuracy and superb resolution | Obtain uniquely detailed system behaviour insights. Insensitive to atmospheric conditions, MAPS often beats performance of interferometers operating in air. |
| Absolute not incremental | Enables reliable/repeatable (re)calibration over time – even after reassembly. Homing unnecessary, results immediately available. |
| Single point measurement | Work-point readings decimate Abbe and other inter-axis anomalies. |
| Strobe illuminations | Enables microsecond-level position capture for high-speed analysis (even at relatively slow sample rates). |
| Compact | Integrates easily, retrofits to existing systems. |
| Ease of use | Setup and go in minutes without finicky adjustments and zeroing. |
| Smart networked computing | Software-defined function and Ethernet/WiFi networked results makes host application implementations extensible and readily upgradable. |
| Laser-free | Obviates mirrors, retroreflectors, complex alignment tasks. No health and safety concerns. Robust, transportable. |
Applications & Industries
- Motion metrology, qualification, calibration
- Cosine, Abbe, scaling, play, runout, out-of-plane
- Ultra-precise squareness, straightness, angle
- Machine motion mapping and compensation
- Error characterisation and debugging
- Q&A, certification, traceability
- Scanning microscopy, optical inspection
- Position sensor test and calibration
- Precision machine tools, CNC, CMM
- XY motion stages, indexing tables
- Mechatronics, nanotech, life sciences
- Semiconductor, robotics
Specifications1
| Measurement | |||
|---|---|---|---|
| AXIS | ACCURACY2 | RESOLUTION3 | TRAVEL |
| X,Y | 100nm | 5nm | 110x110mm |
| Z | 1μm | 10nm | >±250μm |
| AZ | 5μrad | 10nrad | >2π rad |
| AX,AY | 25μrad | 100 nrad | >30 mrad |
| Sampling | |||
|---|---|---|---|
| Rate | 10 Hz nominal, extendable up to 50 Hz. | ||
| Modes | Free-run, software triggered, hardware triggered. | ||
| Communication | Straightforward Anemos protocol over WebSocket based networking | ||
| Mechanical | |||
|---|---|---|---|
| SIZE | WEIGHT | NOTE | |
| Scale | 120 x 120 m | ~ 0.1 kg | Size and material options available |
| Processor | 90 x 85 x 35 mm | ~ 0.6 kg | Enclosure |
| Sensor | 20 x 20 x 40 mm | ~ 0.05 kg | Not including cable |
| Sensor operating distance from Scale | ~ 10 mm | Factory configurable | |
| Flight case | 336 x 234 x 104 mm | ~ 2.0 kg | |
1 Specifications are subject to change without notice and undergo continuous improvement. Enhancements and new features can be provided via software update.
2 Accuracy is defined as measurement within 1-sigma error limit over full travel envelope under 20.0°C constant-temperature conditions. Other potential thermally induced errors will depend principally on system implementation and scale material chosen.
3 Useful resolution is ultimately limited by low-level sensor noise (not the A/D resolution of conventional systems) and MAPS can achieve an unprecedented dynamic range of over 10 decades. Resolution, noise floor, and repeatability are generally equivalent or interchangeable, and do not degrade with XY measurement distance. Further improvement to these figures can be achieved through sample averaging.
Included in the Package
- Scale, sensor, processor, and software
- Power supply and cables
- Setup fixture and host software
- 2-year parts and labour warranty
- 1-year support and software upgrades
- Rugged flight case
Options and Accessories
Mistral systems are delivered ready to plug in and go. However, optimal configurations for specific applications generally involve some customisation including the following.
Scales
- Standard scales are offered at 120 x 120 mm
- Up to 300 x 300 mm glass scales can be supplied
- Photographic film scales of several square metres have been manufactured
- Soda-lime glass standard, low-TCE fused-quartz glass optional
- Zerodur, film, paper, or other materials by special arrangement
Sensor
- Backlight of front-side illumination
- Very high-speed strobe lighting
- Hardware slave mode sampling and cables
- Thermostatic sensor head control
Processor
- 21 TFLOPS GPU standard, upgrades available
- 1 Gbit/s Ethernet RJ45 standard, other on request
- Alternate 2.4 Gbit/s Wi-Fi 6E adapter connection
Fixtures
- Scale mounting and frames
- Sensor mounting hardware
- Processor bracket
Ordering information
Please consult the factory for your application’s the ideal configuration and quotations. Mistral systems are also available on short-term rental to serve intermittent calibration and product evaluation requirements.
MAPS Technology
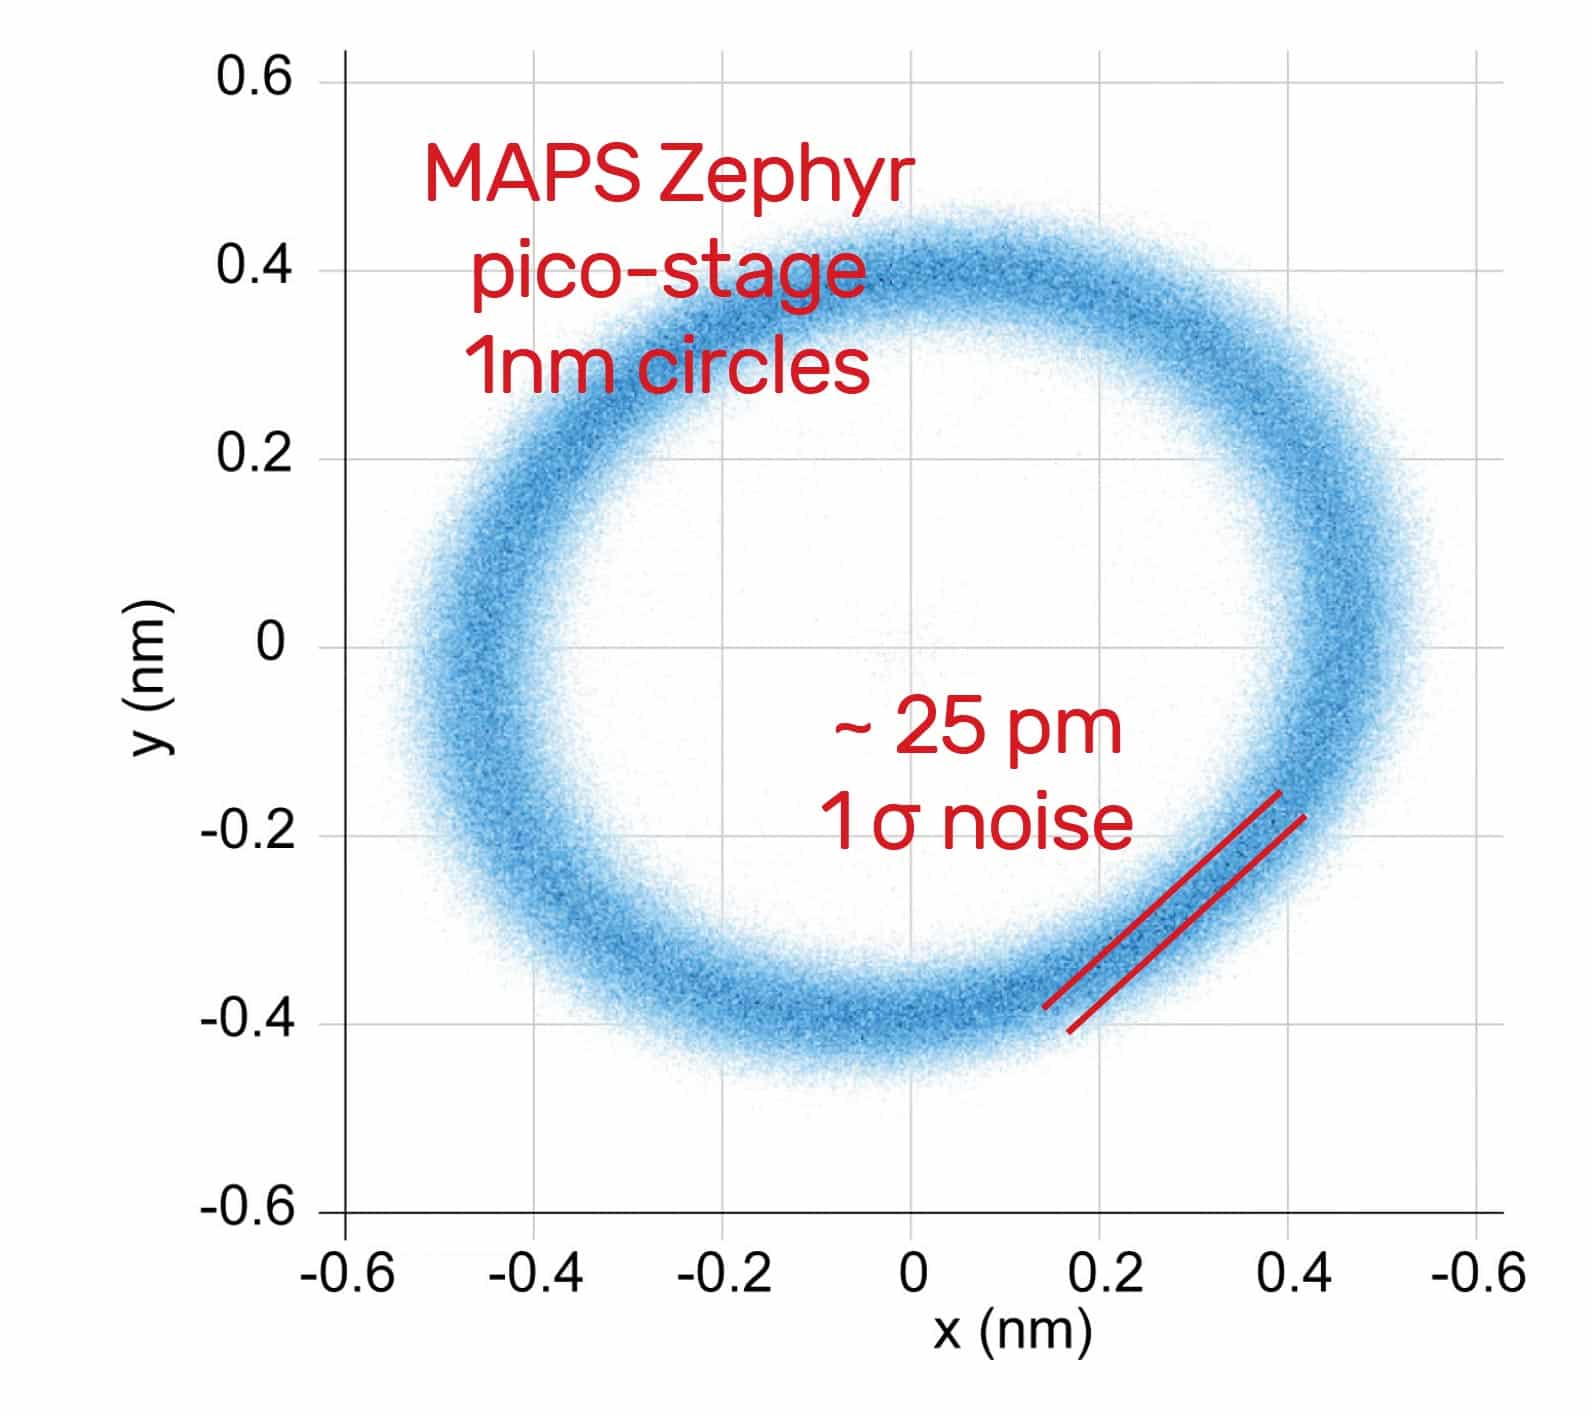
MAPS™ is a patented, broadly scalable technology that is being applied across deep nanotech (where subatomic resolution has been demonstrated), through high-precision machining and microscopy, all the way to surveying applications and IoT remote monitoring.
System combinations are available at value points covering diverse industries including metrology, machine tools, life sciences, nanotech, semiconductors, robotics, and more. This extraordinary new technology is performance proven through extensive in-house qualification and simulation, at customers, and through a series of validation experiments over several years at the National Physical Laboratory, UK. Anemos packaged offerings are currently divided into three product line series.
Additional resources
The Anemos main website is complemented with a wiki for detailed technical information and first-line support. The Online Lab provides interactive web demos of various product lines in action, and a MAPS simulator workbench for application software integration and testing. Please enquire about any custom, OEM, or development service requirements.
